
 Official media
Warhounds Field Manual
Combat Mechanics Overview
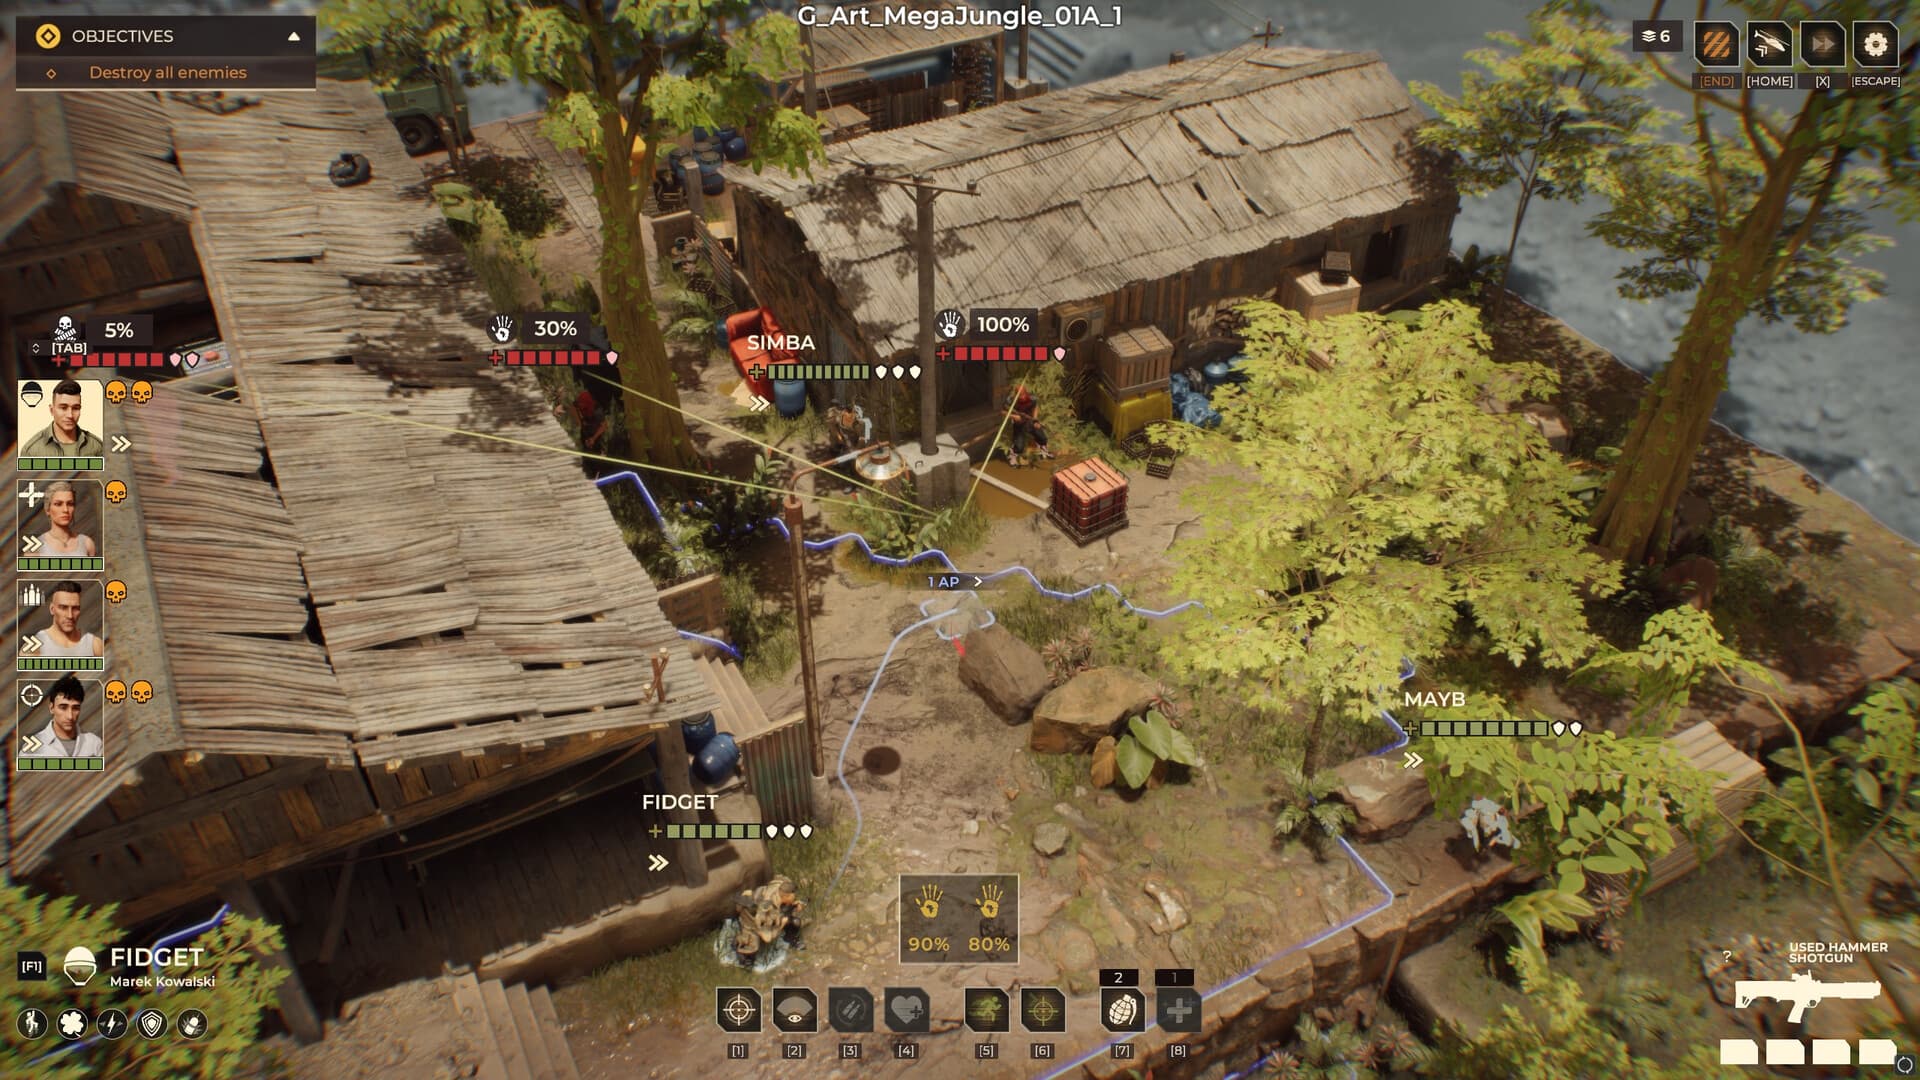
Warhounds combines flexible action points with per-bullet hit chances and physical projectile paths. This hub separates the official rules from shorthand marketing and turns them into practical battlefield decisions.
Verified against official descriptions and launch-era gameplay material · Updated Aug 13, 2026
Combat in Warhounds is built around readable information rather than fixed two-action turns. Movement, attacks, equipment, and positioning compete for the same action-point budget. The guides below explain the systems in the order they affect a decision: probability first, projectile path second, then the position and resources used to improve both.
Mechanics Guides
No RNG Explained
What the slogan really means, which rolls remain random, and why a 100% first bullet can still lead to a mixed burst.
Read guideShooting Mechanics
Read hit chances per projectile and understand how range, stance, cover, wounds, and weapon handling shape a shot.
Read guideTrue Ballistics
Every bullet travels through the scene, so missed rounds can strike scenery, enemies, or friendlies standing behind the target.
Read guideTactical Gameplay
Free action-point spending, elevation, destructible cover, cone overwatch, and chained squad actions define each encounter.
Read guideAction Point Economy
Movement and attacks draw from the same flexible resource, rewarding careful sequencing instead of fixed move-and-shoot phases.
Read guideCover and Positioning
Use line of sight, flanks, height, and breakable objects while accounting for the physical path of every projectile.
Read guide